This is part three of a four-part tutorial set of the Christmas Surprise I mentioned in the Weekly Photo Challenge post here. In each of the parts I will show you how I made all of these fun things:

- Mustache Wrapping Paper
- Ombre Bleach Tee
- Mustache Mug
- Merry Christmas Gift Bag
This one is my favorite :D THE OMBRE SHIRT!!!

It was surprising to look for a bleach ombre shirt tutorial and not find one ANYWHERE. Pinterest only had blue jean ugliness and google was about as much help. The closest thing I found was a picture and a paragraph saying “I used bleach, water and this shirt and this is what I got!” WOW. Super descriptive. And that is why this one is most exciting to make :D
~~~ Ingredients ~~~
- Plastic Bucket
- Bleach
- Cold Water
- Warm Water (yes both)
- Shirt
- Rubber Bands
- Rubber Gloves
- Clothes that can get messed up
- Room with plenty of air

~~~ Instructions ~~~
1. The first thing I did was figure out how many ombre stripes I wanted. Since I decided on four of them, I put three rubber bands on the shirt at equal lengths. You could do it however you wanted though. The smoother the ombre look you want, the more sections you need.

2. In a bucket combine bleach with warm water. My bleach directions told me to use 4 cups of warm water and 3/4 cup of bleach. It worked. You can try your bleach’s directions if you want though. Be careful since bleach is corrosive and does mean things to skin. I carried this bucket to a plastic wash sink to do this project (make sure you never put bleach in metal because it can eat a hole in it), mostly to make sure I didn’t make a ginormous mess haha

3. Wearing gloves, put the first end of the shirt into the bleach/water mixture. You will see it begin to change colors. Try to avoid putting the rubber band in the bleach. My bands made a smoke and sizzle that freaked me out. Only happened once, as I was very careful to avoid that circumstance again.

4. Continue moving the different sections into the bleach. You want to make sure that you keep them separate for long enough to see the change. If you a much more gradient look, then move more consistently between them. I wanted four distinct layers and that’s what happened.
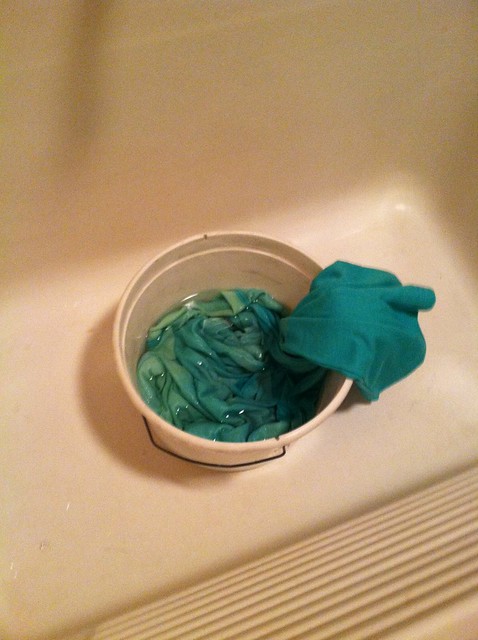
You can see that the first part of the shirt in the bleach is clearly lighter than the last part. I also didn’t want the true color of the shirt to be lost, so I left the end of the shirt out of the bleach completely.
5. Once the shirt is to the color you want, rinse in cold water to stop the bleaching process. Rinse and wring completely.

You can see that the bleach doesn’t move in a straight line. That’s part of the fun :) You never know what you will get!
6. Let the shirt dry. Then you can throw it in the wash ALONE with soap to get all of the bleach out. The shirt dye and the bleach could make an interesting piece of clothing if you threw anything else in with it.
~~~~
I hope you love it as much as I do!! Oh and you should note that the thread color of the shirt was unaffected by the bleach. You could effectively bleach a shirt completely (except for thread) and then dye it back in a different color. Just a pondering thought for a cool experiment.
Post it! (ha see what I did there?):


